
Tile layout guide: getting started
- Sans installation
- Bureau d'études
- Pour le carreleur
Open the tile layout file (.json) you received by email: your plan is already scaled and the area drawn, you only choose the tile, the pattern and export.
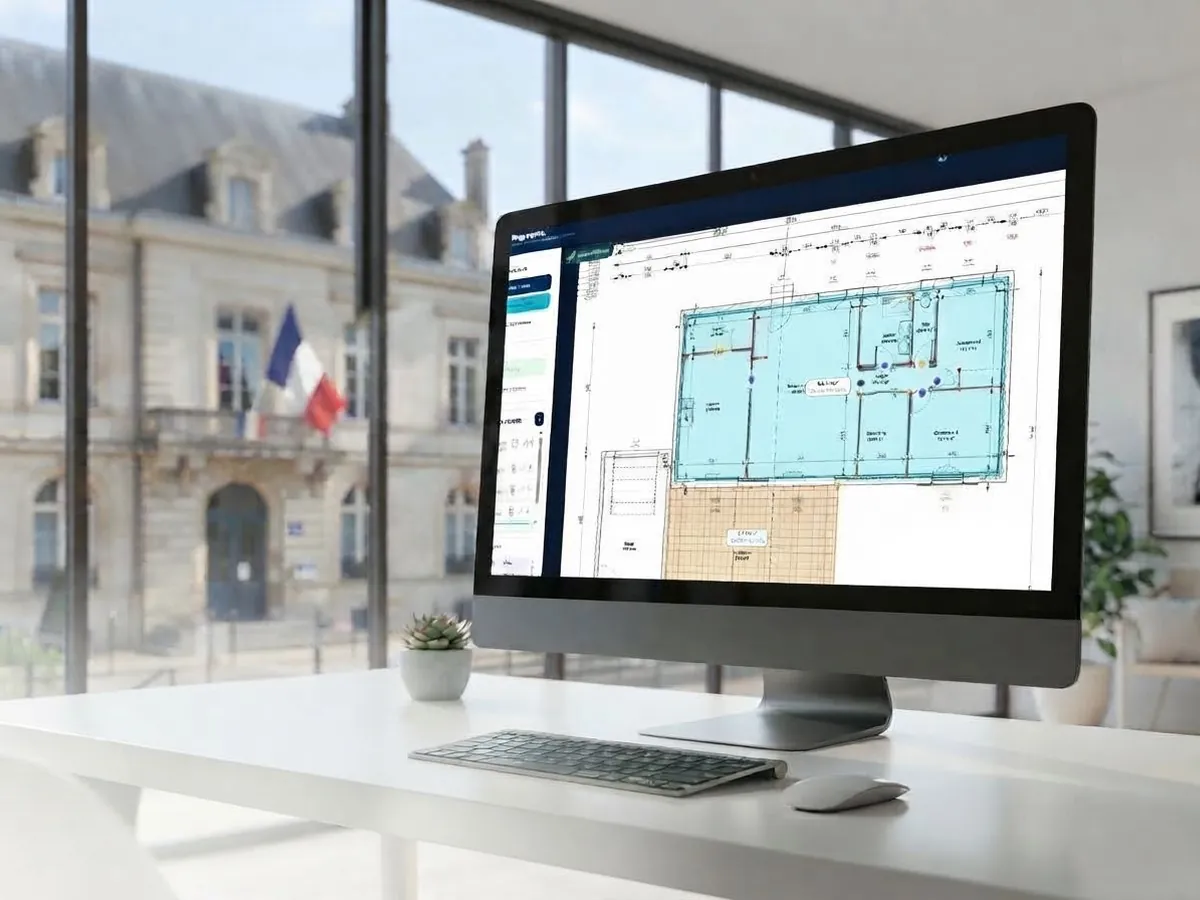
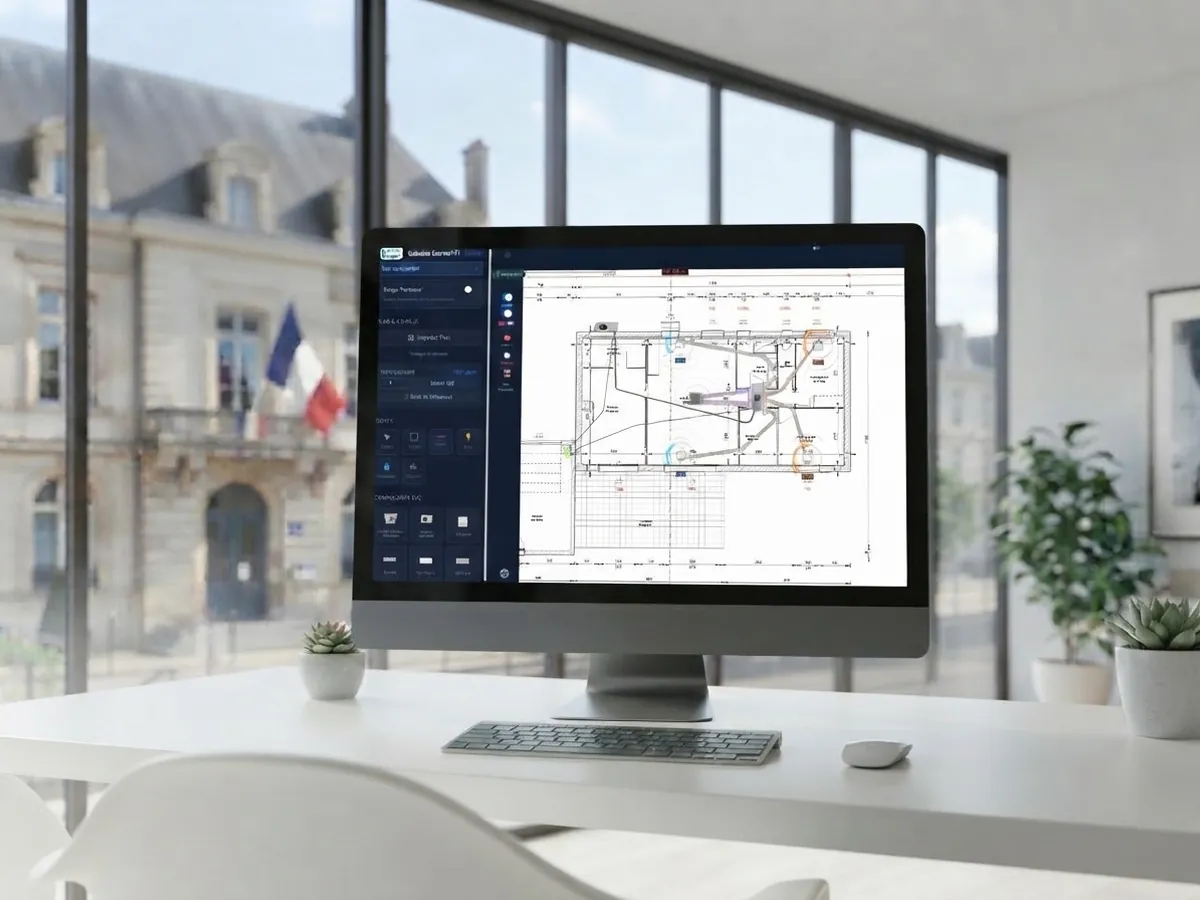
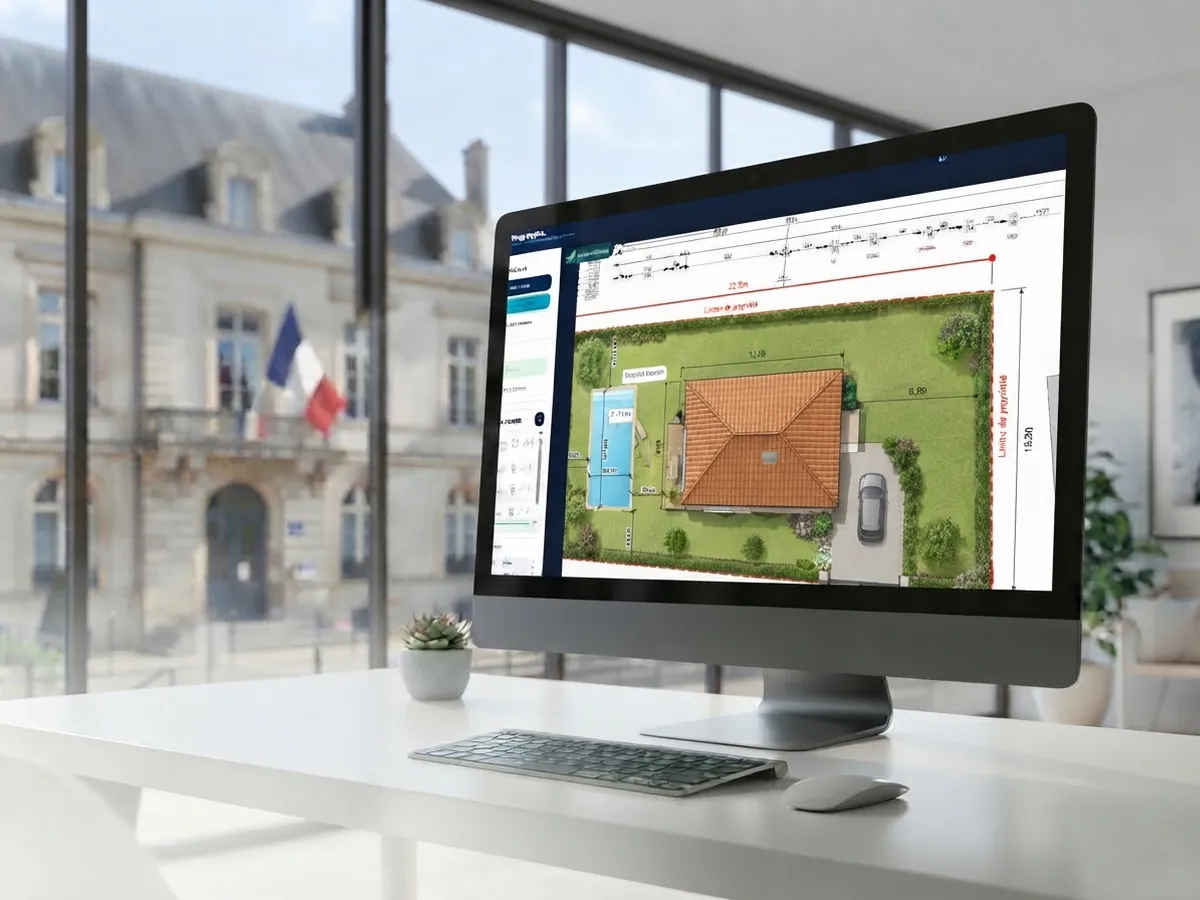
Key points
- Plan scaled and area drawn by our team
- Tiles and boxes calculated, breakage included
- Straight or offset pattern, adjustable rotation and starting point
- Image export and printing, file easy to share
Step by step
- 1
Import your file
Click “Import a project” (Project section) and select the .json file received after your order: plan, scale and area load automatically.
- 2
Set up the layout
In the “Layout” section: tile size (cm), joint (mm), breakage (7 % by default) and offset (50 % for a staggered pattern). Click “Apply”.
- 3
Adjust the pattern
Use – and + or type an angle to rotate; Ctrl + drag to rotate with the mouse; Shift + drag to move the starting point.
- 4
Measure if needed
“Measure” button: two clicks give the distance and angle. Shift for 45° steps, Delete to remove a selected measurement.
- 5
Save, export, share
“Save” downloads the .json project; “Image” or “Print” for the final plan. Send the .json to your tiler or supplier: it opens in any browser.
Good to know
Fill in “Tiles/box” in the top bar: the number of boxes to order is calculated automatically.
It holds the whole project: reopen and edit it at any time.
Shortcuts
Quantities are estimates based on the plan data: check them and keep a margin before ordering. The tool helps you prepare, it does not replace a qualified tiler.